IN THIS ARTICLE
Texture the Terrain
In this tutorial section, you will add color and surface types to the terrain.
Apply terrain materials
Adding color and surface types to terrain requires multiple entities that reference each other. You can set up the entities and references manually, or you can use Landscape Canvas to place and connect nodes in a visual graph that generates terrain.
It’s helpful to understand how the various gradient and terrain components work together, so it’s recommended that you work through both versions of the tutorial in the tabs below.
In this section, you’ll create the entities and components needed for defining surface types and adding materials to the terrain.
- Save the level (hotkey Ctrl + S) before beginning this section so that you can reload and revert the steps for texturing with entities if you choose to also work through the Landscape Canvas version of terrain texturing.
Apply a macro material
With the Terrain Spawner entity selected, add a Terrain Macro Material component.
In the Terrain Macro Material component, select the
tutorial_terrain_basecolormacro color texture that you saved in your tutorial level folder, or optionally any other color texture of your choosing. This tutorial doesn’t use a macro normal texture, but if your terrain authoring software supports generating one, you can select it here as well.
Important:If you use a macro normal texture, the terrain area size must exactly match the size of the terrain in the terrain authoring software or else the normals won’t point in the correct directions.
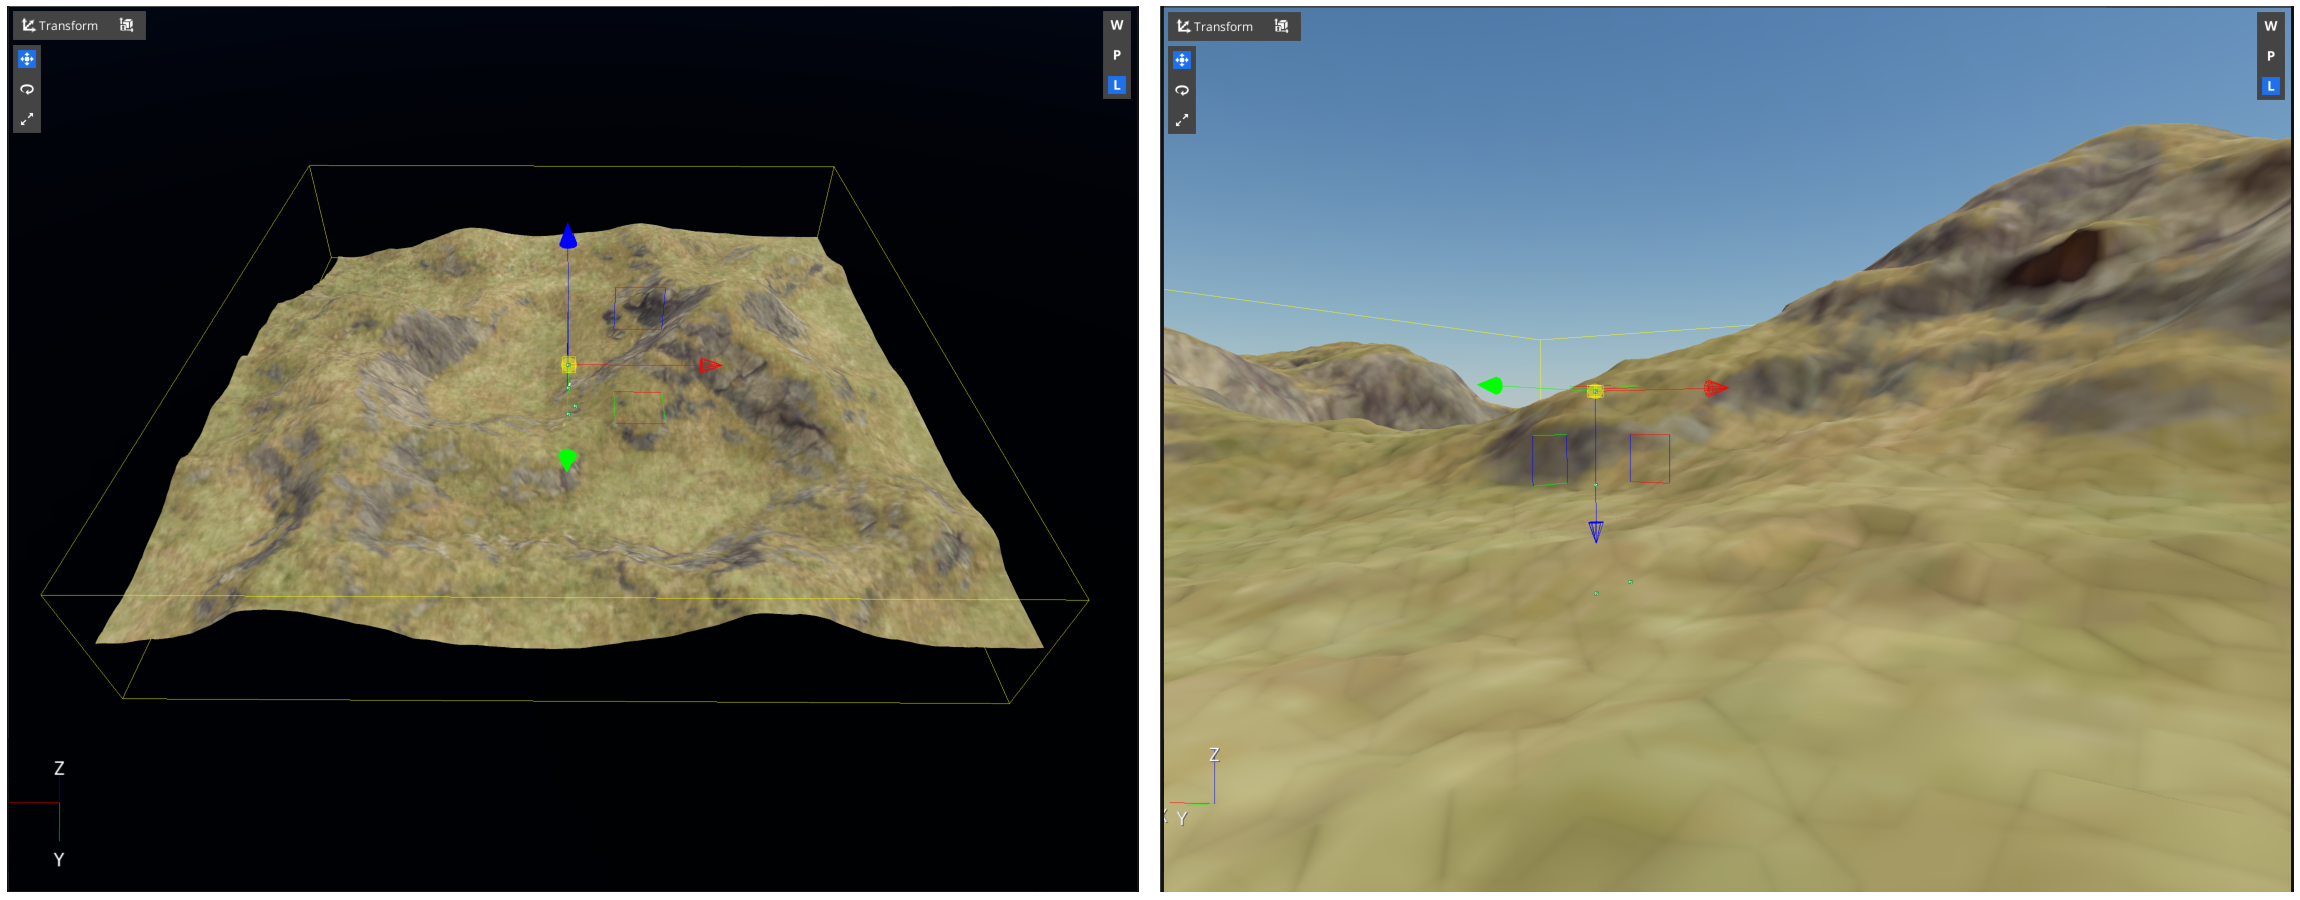
At this point, the terrain is colored, but up close it lacks any surface details:
Apply detail materials
To apply the materials to the terrain as detail materials, do the following:
Add a default surface material
Start by adding a default surface material to verify that the terrain detail materials you created earlier are working and provide the look that you expect.
With the Terrain Spawner selected, add a Terrain Surface Materials List component.
To the right of the Default Material property, click the
File button and select the
rock_boulder_drymaterial asset. The entire terrain is redrawn with the rock material you created.Now set the Default Material property to the
forrest_ground_01material asset. This changes the entire terrain surface to grass.
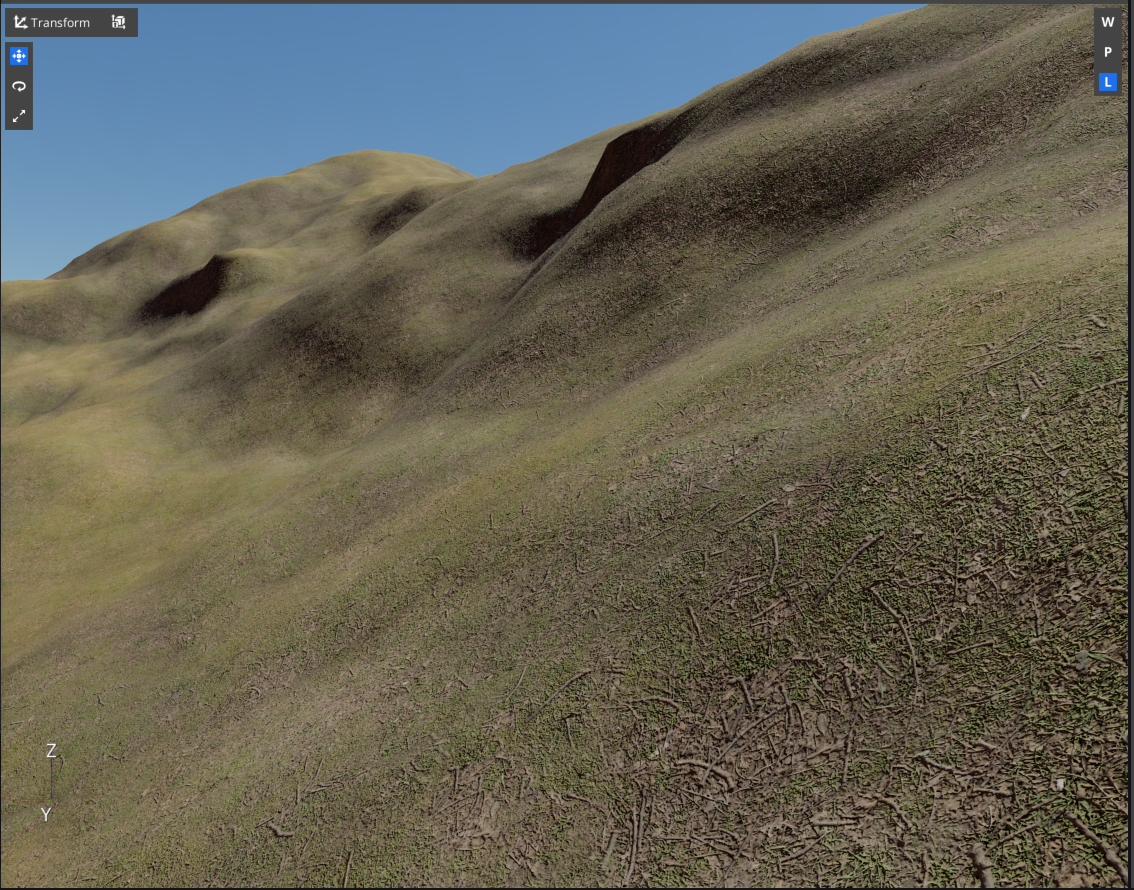
At this point, the terrain has height variation, color variation, and a grass texture:
Create gradient entity for the grass surface weights
This process is the same as creating a gradient entity for a heightmap. Each gradient entity has three components:
An Image Gradient component that references a gradient image. Other gradient types can be used, but image gradients offer the most control and are used in many scenarios when creating terrain.
A Gradient Transform Modifier component that places the gradient in the level.
A shape component. Most often, this is a Shape Reference component that references the Axis Aligned Box Shape component in the Terrain Spawner entity.
Create a child entity of the Terrain Spawner entity named
Terrain Grassand add an Image Gradient, a Gradient Transform Modifier, and a Shape Reference component.On the Shape Reference component, click the
Picker button, then click the Terrain Spawner entity in Entity Outliner to create a reference.
On the Image Gradient, set the Image Asset to the
tutorial_grass_splatmap_gsiimage that you downloaded into your tutorial level folder.
Create gradient entity for the rock surface weights
In levels that have many different surface types, you will typically use separate images for each surface weight. However, this tutorial only uses two surface types, so the rock gradient can be set to the inverse of the grass gradient.
Create a child entity of the Terrain Spawner entity named
Terrain Rockand add an Invert Gradient Modifier component and a Shape Reference component to it.On the Shape Reference component, click the
Picker button, then click the Terrain Spawner entity in Entity Outliner to create a reference.
On the Invert Gradient Modifier component, click the
Picker button, then click the Terrain Grass entity in Entity Outliner to create a reference.
Add a Terrain Surface Gradient List
These steps associate the gradient entities with the surface tag names you created.
With the Terrain Spawner selected, add a Terrain Surface Gradient List component.
In the Terrain Surface Gradient List component, click the
Add button to add a new gradient slot.
To the right of the Gradient Entity property, click the
Picker button, then click the Terrain Grass entity in Entity Outliner to reference it.
For the Surface Tag property, select the
tutorial_grasssurface tag name from the list. Note that the list contains the surface tag names you created in Asset Editor.Repeat steps 2 though 4 to add the Terrain Rock entity and associate it with the
tutorial_rocksurface tag.
Add surface weights to the Terrain Surface Materials List
This assigns the detail materials to the terrain based on the surface tag names and associated gradient entities.
Select the Terrain Spawner entity in the Entity Outliner.
In the Terrain Surface Materials List component, clear the entry for the default material. Our surface maps will cover the entire terrain, so the default material will no longer be necessary.
To the right of the Material Mappings property group, click the
Add button to add a new material slot.
In the Surface Tag property, select
tutorial_grass.To the right of the Material asset property, click the
File button and select the
forest_ground_01material asset to associate with the surface tag.Repeat steps 3 through 5 to add
tutorial_rockand associate it with therock_boulder_drymaterial asset.
As you add detail materials and surface tag name pairs to the Terrain Surface Materials List component, the materials appear on the terrain surface.
In this section, you’ll color and surface the terrain using Landscape Canvas.
If you have already followed through the “Terrain texturing with entities” tab, you will need to reload your level without saving to revert the changes that you made.
In the Entity Outliner, select the Terrain Spawner entity.
If this entity does not already have a Landscape Canvas component on it, select Add Component and add the Landscape Canvas component to the entity.
Press the Edit button on the Landscape Canvas component to launch the Landscape Canvas tool with the correct landscape graph loaded.
Apply a macro material in Landscape Canvas
Select the Terrain Layer Spawner node, press Add Extenders, and select Terrain Macro Material.
In the Node Inspector, on the Terrain Macro Material component, select the
tutorial_terrain_basecolormacro color texture that you saved in your tutorial level folder, or optionally any other color texture of your choosing. This tutorial doesn’t use a macro normal texture, but if your terrain authoring software supports generating one, you can select it here as well.
Important:If you use a macro normal texture, the terrain area size must exactly match the size of the terrain in the terrain authoring software or else the normals won’t point in the correct directions.
At this point, the terrain is colored, but up close it lacks any surface details:
Apply detail materials in Landscape Canvas
To apply the materials to the terrain as detail materials, do the following:
Add a default surface material in Landscape Canvas
Start by adding a default surface material to verify that the terrain detail materials you created earlier are working and provide the look that you expect.
Select the Terrain Layer Spawner node, press Add Extenders, and select Terrain Surface Materials List.
In the Node Inspector, on the Terrain Surface Materials List component, to the right of the Default Material property, click the
File button and select the
rock_boulder_drymaterial asset. The entire terrain is redrawn with the rock material you created.Now set the Default Material property to the
forrest_ground_01material asset. This changes the entire terrain surface to grass.
At this point, the terrain has height variation, color variation, and a grass texture:
Create the grass surface weights in Landscape Canvas
In Landscape Canvas, in the Node Palette, expand the Gradients node list, and drag an Image node into the graph. Name the entity
Terrain Grass.Click the Bounds pin of the Axis Aligned Box Shape node and drag to the Inbound Shape of the newly-created Shape Reference node to connect the nodes, which lets the Image Gradient use the same bounding box as the terrain.
On the Image Gradient, set the Image Asset to the
tutorial_grass_splatmap_gsiimage that you downloaded into your tutorial level folder.
Create gradient entity for the rock surface weights in Landscape Canvas
In levels that have many different surface types, you will typically use separate images for each surface weight. However, this tutorial only has two surface types, so the rock gradient can be set to the inverse of the grass gradient.
In Landscape Canvas, in the Node Palette, expand the Gradient Modifiers node list, and drag an Invert node into the graph. Name the entity
Terrain Rock.Click the Outbound Gradient pin of the Terrain Grass node and drag to the Inbound Gradient pin of the Invert node.
Click the Bounds pin of the Axis Aligned Box Shape node and drag to the Preview Bounds pin of the Invert node.
Add a Terrain Surface Gradient List in Landscape Canvas
These steps associate the surface weights with the surface tag names you created.
Select the Terrain Layer Spawner node, press Add Extenders, and select Terrain Surface Gradient List.
Click the Outbound Gradient pin of the Terrain Grass node and drag to the Inbound Gradient pin of the Terrain Surface Gradient List.
Click the Outbound Gradient pin of the Terrain Rock node and drag to the Add Gradient pin of the Terrain Surface Gradient List, which will turn into an Inbound Gradient pin.
In the Node Inspector, in the Terrain Surface Gradient List, select
tutorial_grassfor the first Surface Tag andtutorial_rockfor the second Surface Tag.
Add surface weights to the Terrain Surface Materials List in Landscape Canvas
This assigns the detail materials to the terrain based on the surface tag names and associated gradient entities.
In the Node Inspector, in the Terrain Surface Materials List component, clear the entry for the default material. Our surface maps will cover the entire terrain, so the default material will no longer be necessary.
To the right of the Material Mappings property group, click the
Add button to add a new material slot.
In the Surface Tag property, select
tutorial_grass.To the right of the Material asset property, click the
File button and select the
forest_ground_01material asset to associate with the surface tag.Repeat steps 2 through 4 to add
tutorial_rockand associate it with therock_boulder_drymaterial asset.
As you add detail materials and surface tag name pairs to the Terrain Surface Materials List component, the materials appear on the terrain surface.
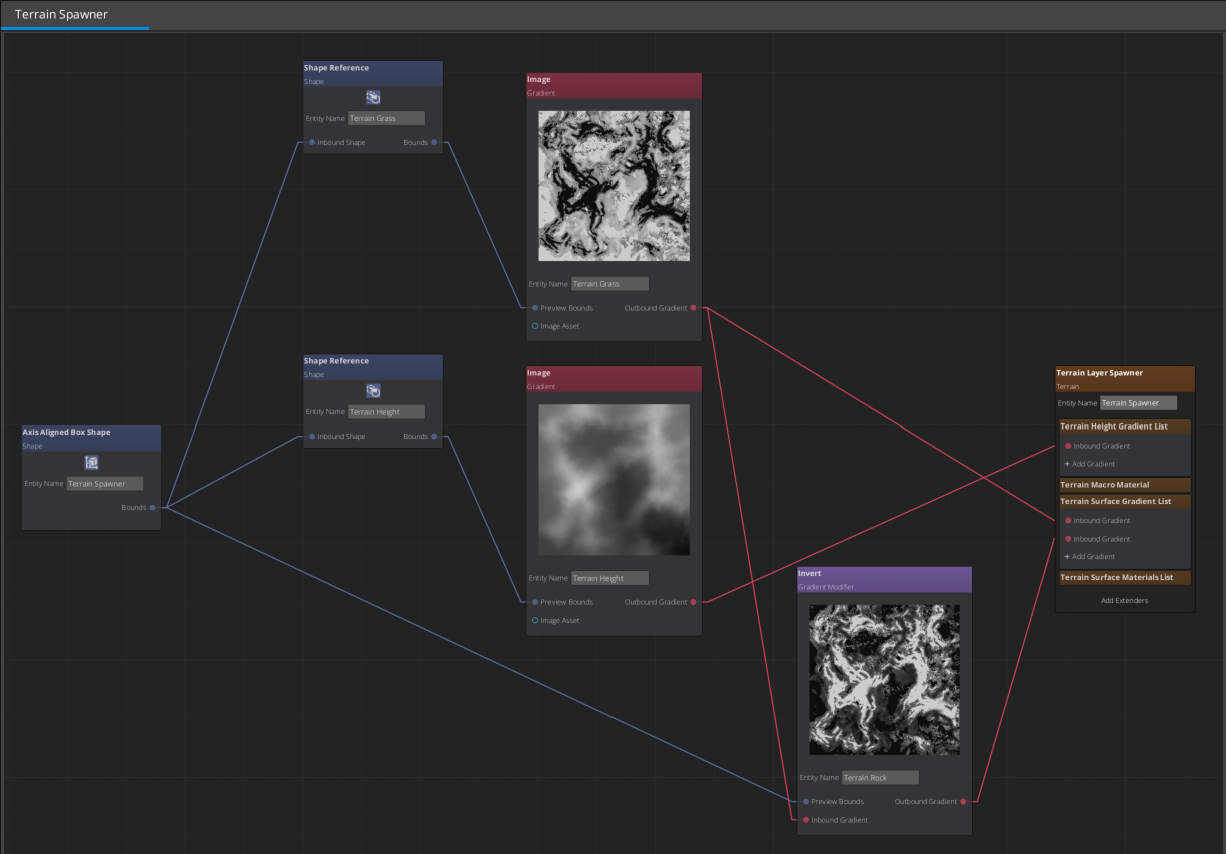
The final Landscape Canvas graph looks like this:
Tune material rendering settings
Now that the terrain is fully textured, the settings on the Terrain World Renderer component can be tuned to provide better results.
Select the Level entity in the Entity Outliner.
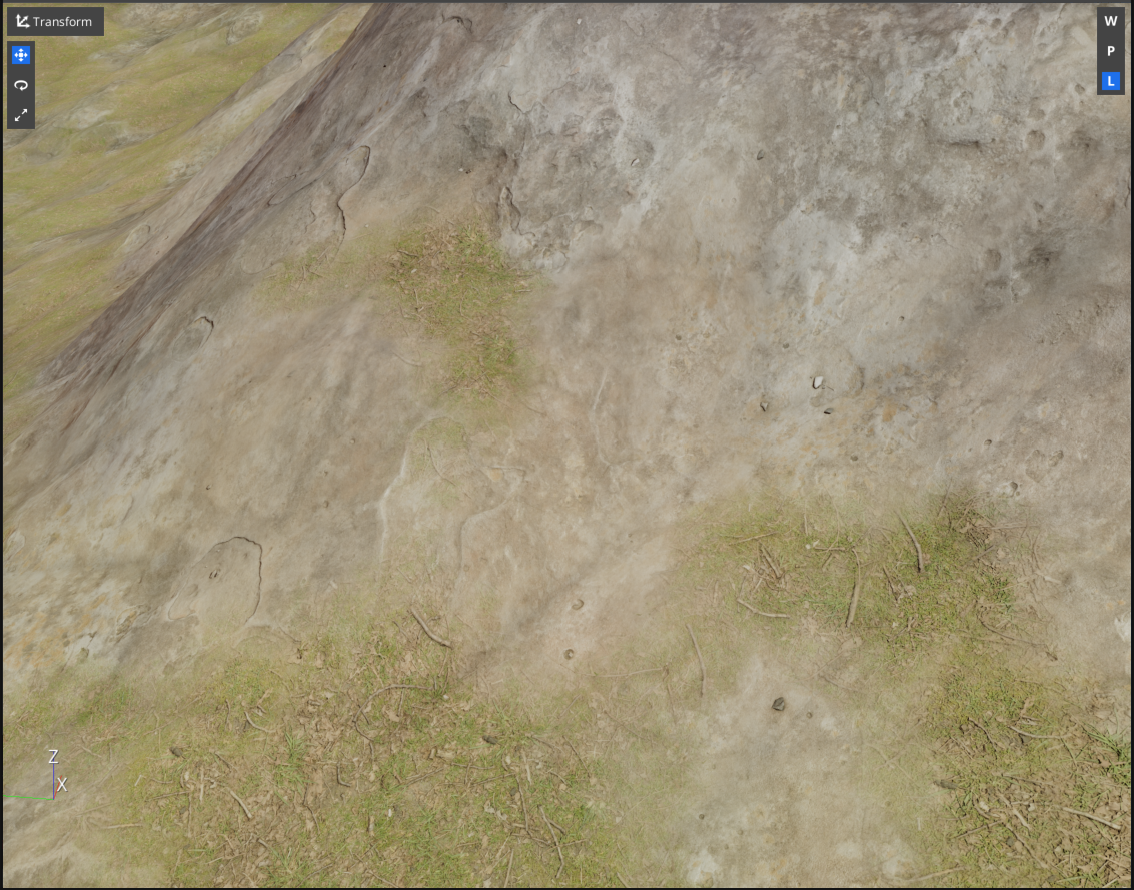
In the Terrain World Renderer component, enable Height based texture blending underneath Detail material configuration. This changes the terrain renderer from using pure alpha blending on detail materials to using the displacement maps on the materials to blend based on material heights. Height-based blending provides crisper details and more realistic transitions between the detail materials.
Alpha blending Height-based blending 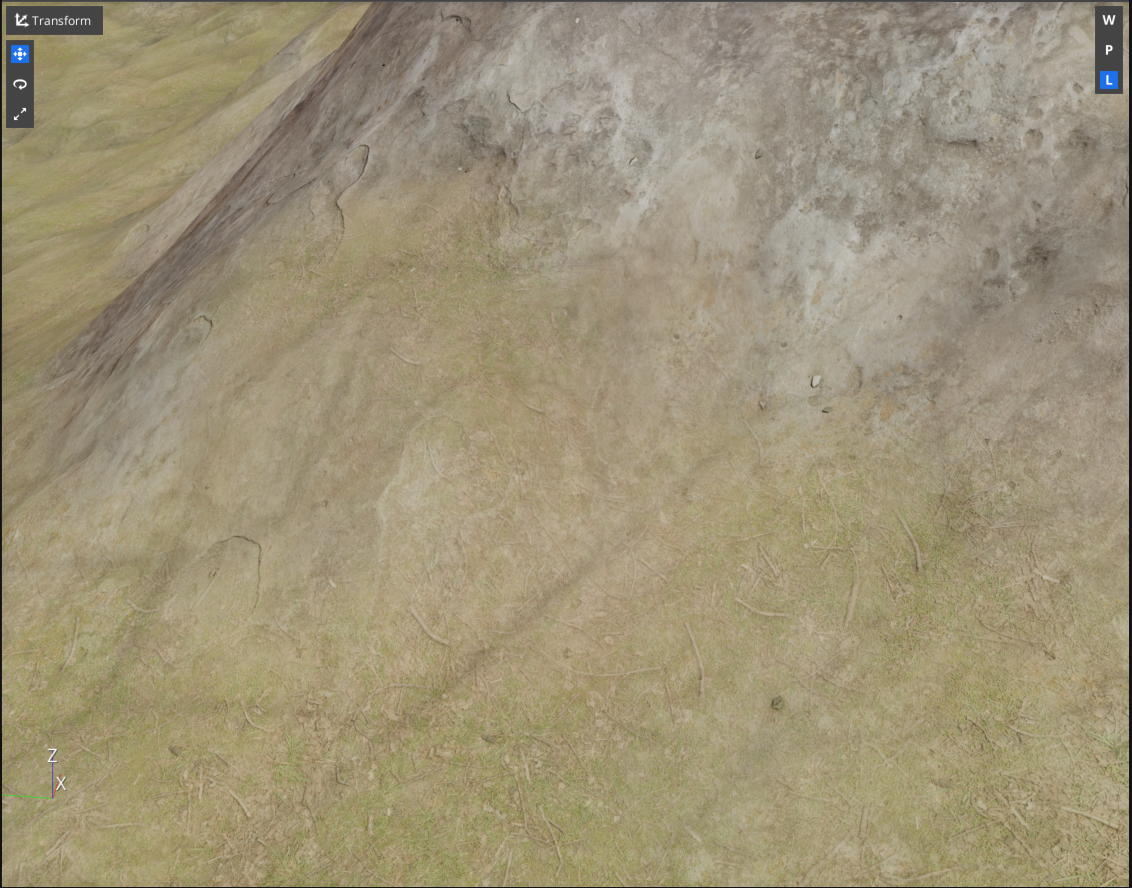
If performance becomes an issue, the detail material render and fade distances can be tuned to reduce the draw distance for the detail materials.
Save the level (hotkey Ctrl + S).

