IN THIS ARTICLE
Understanding Frequency Separation
This tutorial helps us understand the importance of Frequency Separation (FS), which is a technique used in image editing to separate the high-frequency details, such as texture and blemishes, from the low-frequency information, such as color and tone. This allows the editor to make adjustments to these different elements separately, allowing for more precise and targeted edits. For example, the Image Author could use frequency separation to smooth out the skin tone of a portrait without losing the texture of the skin, or to remove blemishes without affecting the overall skin tone. The technique involves creating two layers in the image, one for the high frequencies and one for the low frequencies, and then using blurring and other techniques to separate the two layers. Frequency separation can be a useful tool in a variety of editing situations, including portrait retouching, product photography, and landscape editing.
Generating low and high pass
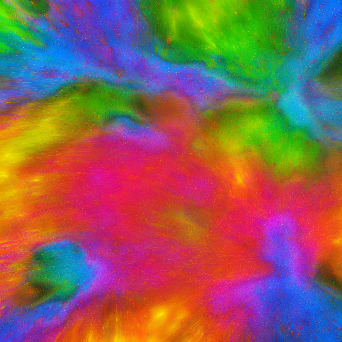
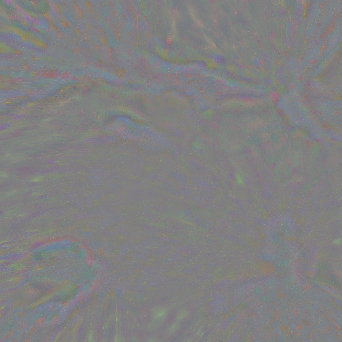
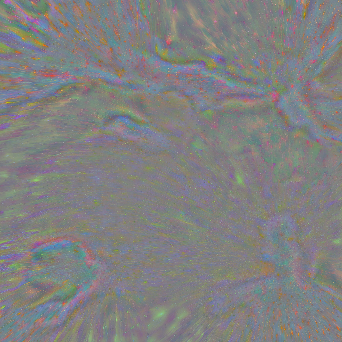
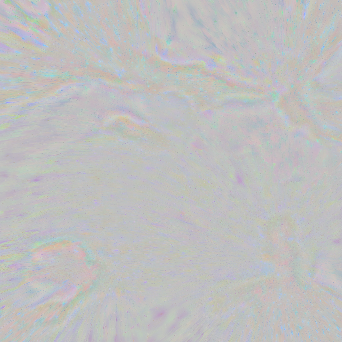
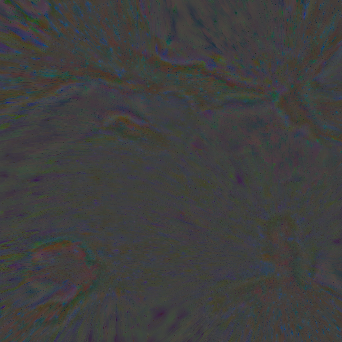
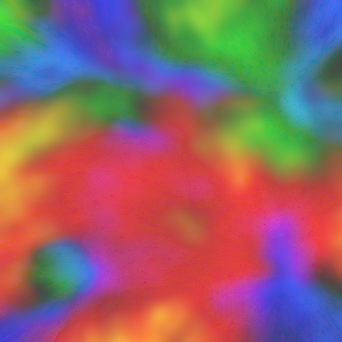
Terrain detail maps can be derived from running a high pass filter on an image. Starting from an image with lots of color and detail, we are going to separate out the low frequency and high frequency data. Separating low/high frequency data from an image is a manual process in an image editor, such as Photoshop.
You can generate a basic high-pass texture a number of ways:
- Use a High-Pass Filter in your Image Editor:
- Adobe® Photoshop® software: menubar > filter > other > High Pass
- Gimp: by using Filters->Enhance->High Pass, with Std Dev=10, Contrast=1.0.
- Krita: you can use the method outlined in this document
- Or a similar High-Pass filter in your material authoring app, such as “Adobe® Substance3D Designer® software:
- Google searching “substance high-pass” or “substance luminance highpass” will get you to those help pages
This document describes a non-filter approach that has more flexibility, which can be used to separate an image into two textures:
- A high-frequency variation texture that is suitable for use in a Terrain Detail Material.
- A low-frequency color map that can be used in Terrain Macro Color workflows.
The following section explains how to generate layers in Photoshop that contain low and high pass filters of a base image:
Tiling images
For tiling images, use the following steps before separating low and high frequencies to ensure that both the low pass and high pass tile properly:
- Select the base image
- Choose Edit > Define Pattern…
- Save the selected base image as a pattern
- Choose Image > Canvas Size…
- In the Canvas Size dialog, set Width and Height to 300%
- Create a 3x3 tiled image. Choose Edit > Fill… In the Fill dialog do the following:
- Set Contents to Patterns
- Choose Custom Pattern and select the pattern you made from the base image in step 3.
- Perform the previous steps for Generating low and high pass layers
- Choose Image > Canvas Size…
- In the Canvas Size dialog set Width and Height to 33.33%, or the original image size in pixels to crop the image to the center tile.
The preceding steps allow the Gaussian blur to take into account the wrapped tiling along the adjacent borders. When the low pass (blur) is calculated, the pixel information wraps. When it’s subtracted and cropped, both the low pass and the high pass tile properly.
Blending
Next, you’ll combine (blend) the low pass (Layer 2) and the high pass (Layer 3).
In Photoshop, set the layer blend mode of the high pass to Linear light.
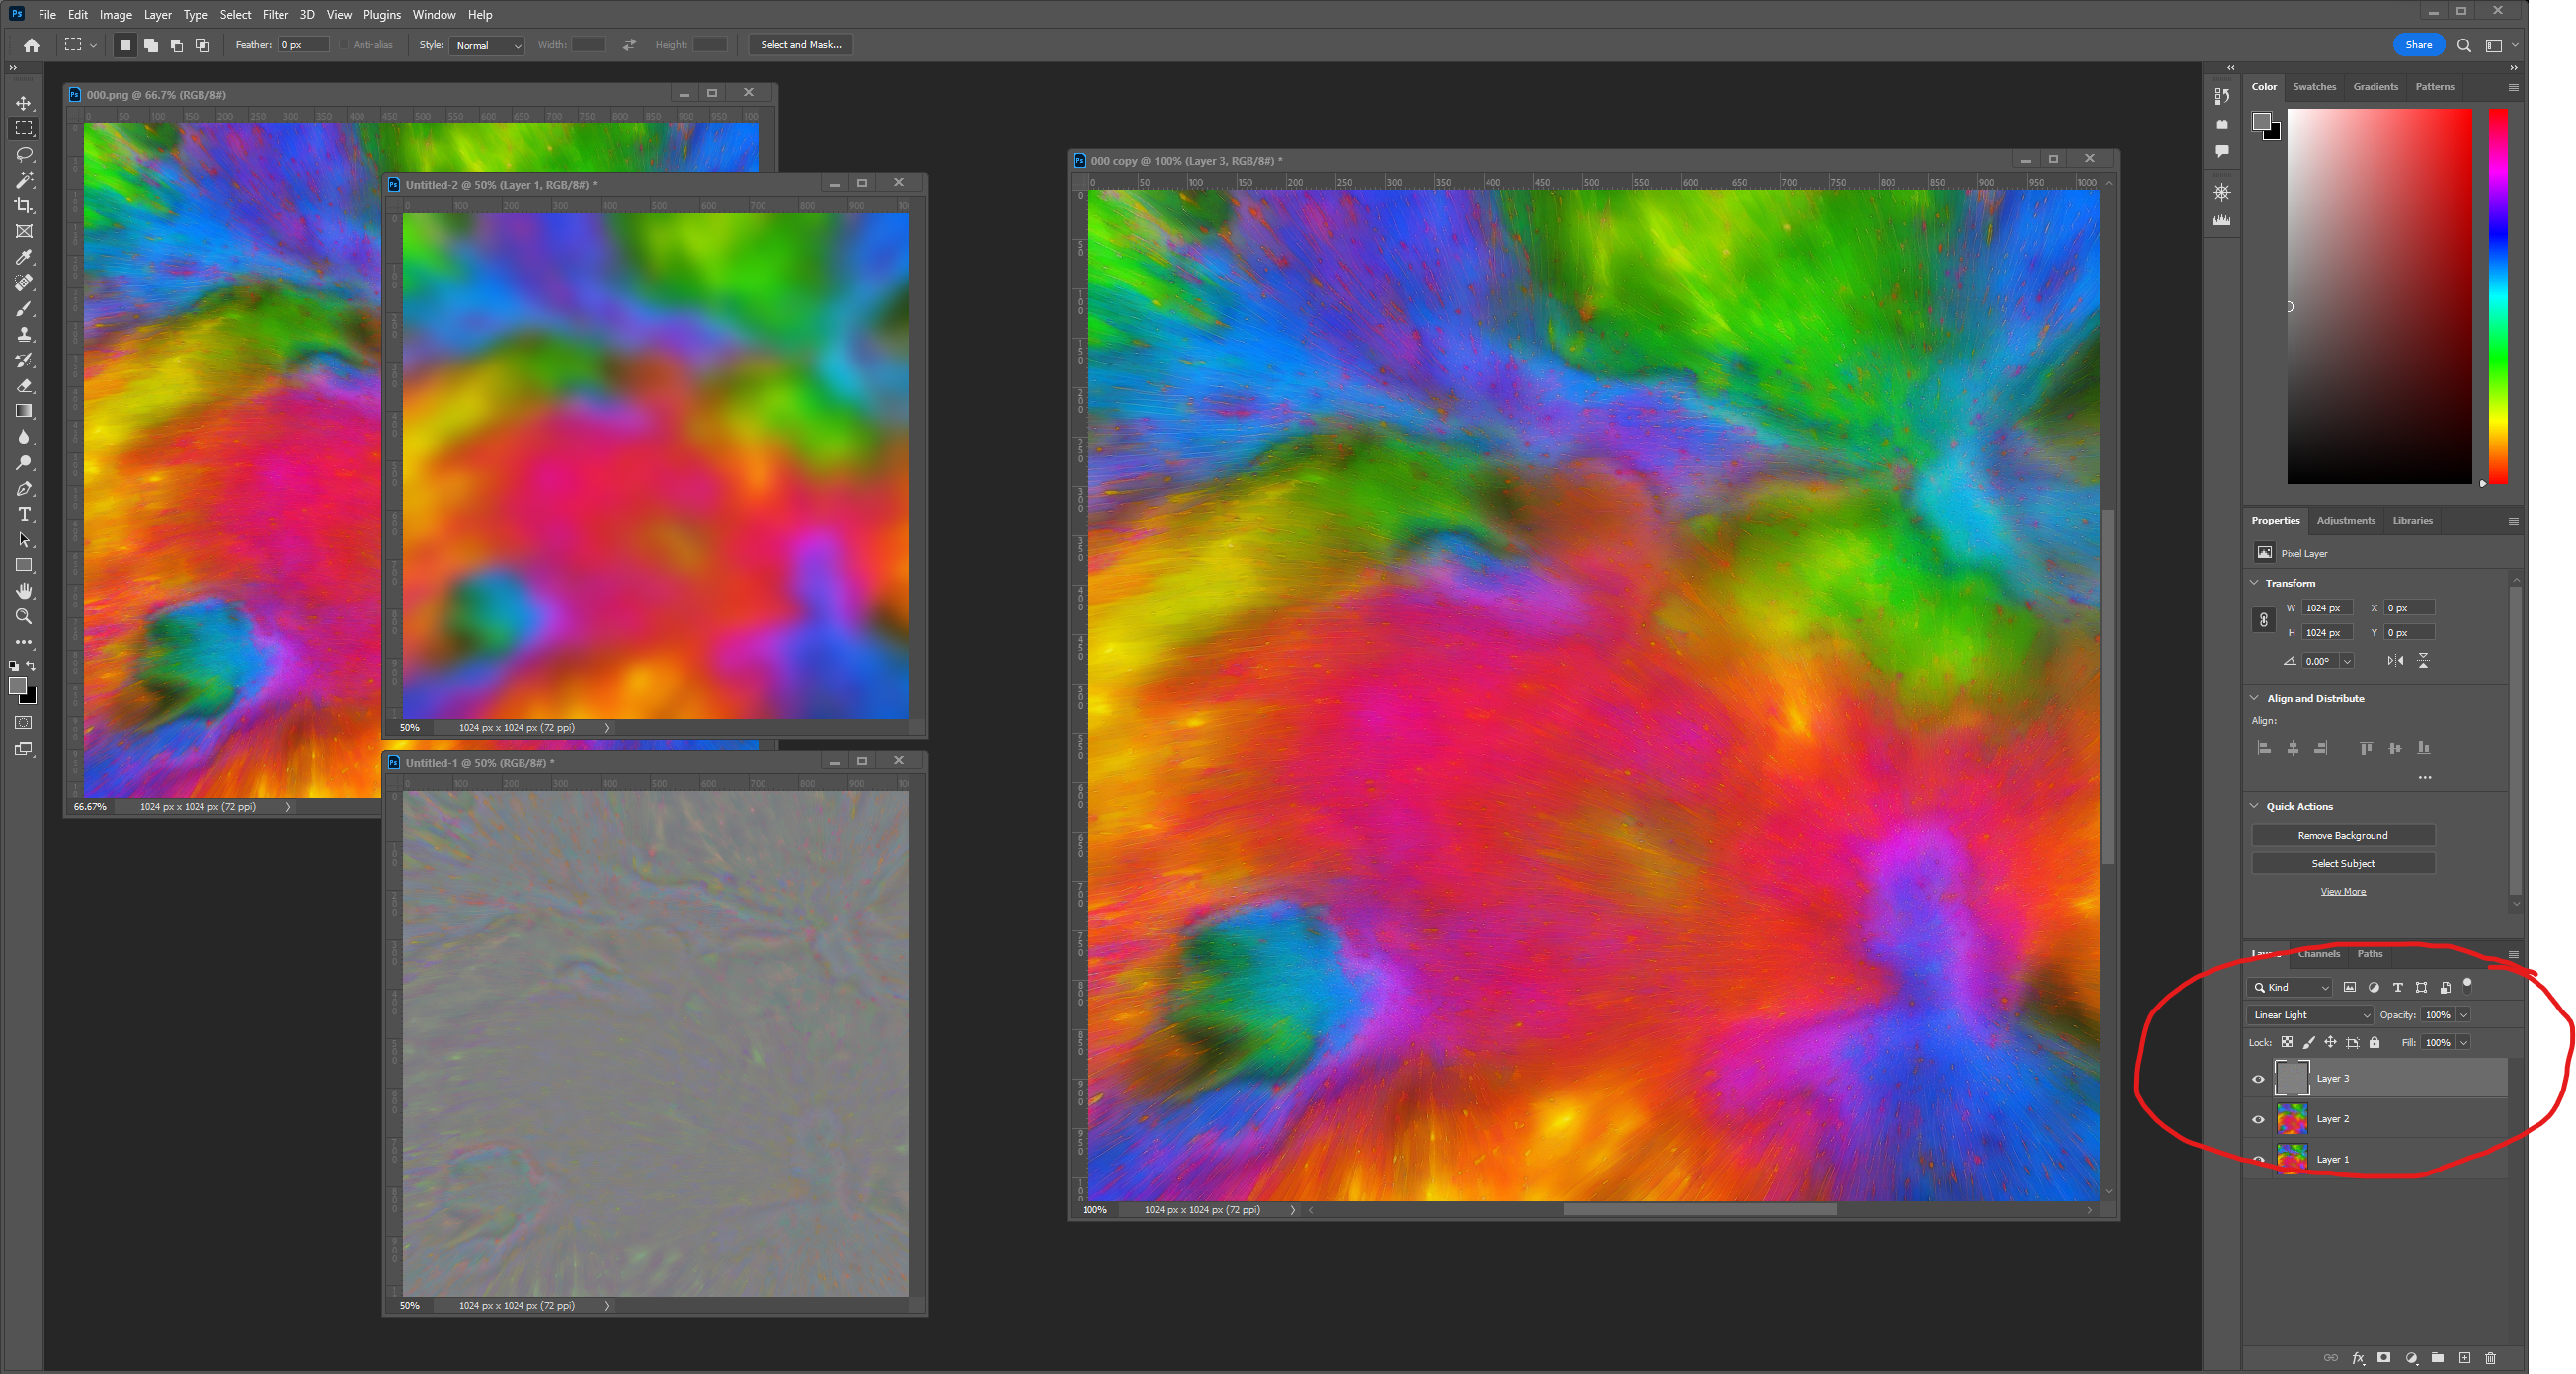
In the preceding screenshot, the original image fidelity is restored by properly blending the low and high pass frequencies together.
Downsampled low pass
With the blending of low pass and high pass, you can downsample the low pass image and still achieve a final blended image with little perceptible loss in quality. The following example downsamples the low pass to a much smaller image, then reconstructs the image from two maps of different resolutions. Some information is lost, which might decrease aspects such as fidelity, quality, and overall data integrity of the image, but you can experiment with the levels to find an acceptable result.
Original Low Pass (1024 x 1024 pixels) | Downsampled (64 x 64 pixels) | Interpolated (Bilinear) | Reconstructed (Interpolated + Original High Pass) | Difference (Original - Reconstructed) |
|---|---|---|---|---|
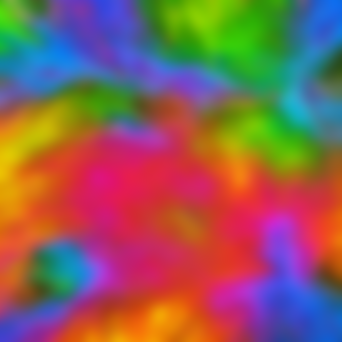 |  |  | 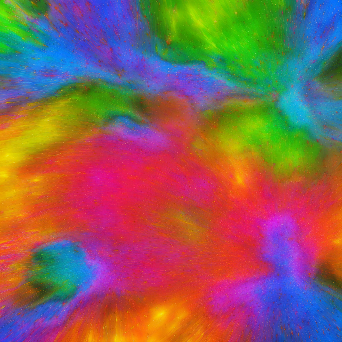 |  |
As you can see in the final reconstructed image, there is almost no perceptible loss in quality. This is further highlighted by how closely you need to zoom into the difference image to observe how minor the differences are.
Let’s try another downsampled even further.
Original Low Pass (1024 x 1024 pixels) | Downsampled (16 x 16 pixels) | Interpolated (Bilinear) | Reconstructed (Interpolated + Original High Pass) | Difference (Original - Reconstructed) |
|---|---|---|---|---|
 | 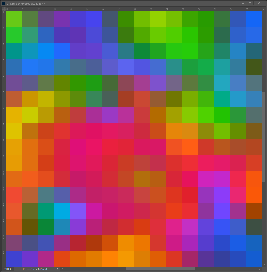 | 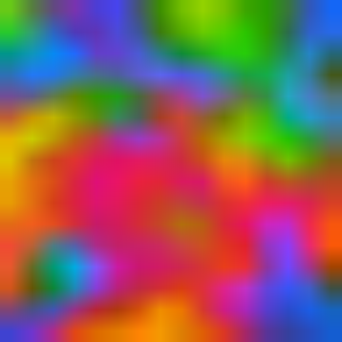 | 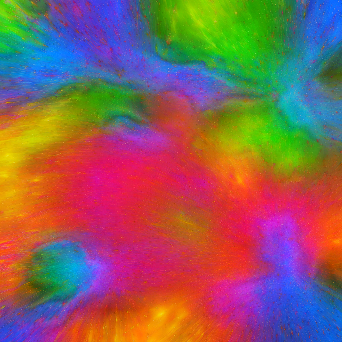 | 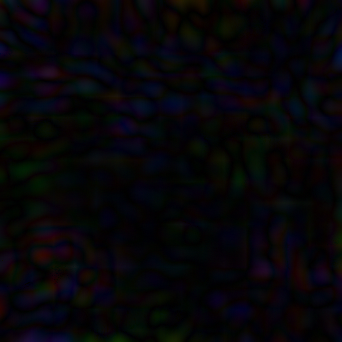 |
At this level of downsampling, there is a perceptible difference in integrity, and the quality is arguably diminished. However, the fidelity is still good enough to be useful for terrain detail mapping use cases.
Results
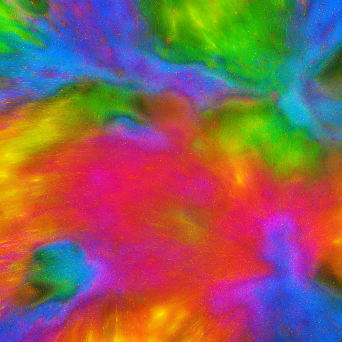
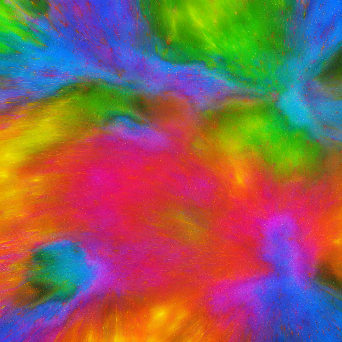
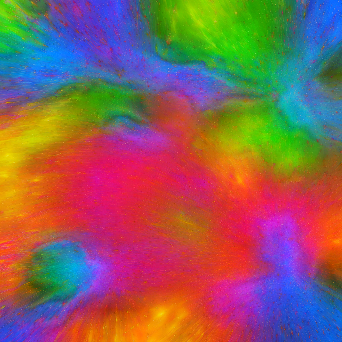
Here are all three reconstructions again side-by-side, each is the final reconstructed resolution of 1024 pixels, only the low-frequency low-pass was altered. It’s quite hard to visually pick out the difference, but if you look closely at the far-right version that had the most manipulation has some reduced contrast that was lost in some areas.
| Low Pass: 1024 High Pass: 1024 | Low Pass: 64 (Bilinear upsample) High Pass: 1024 | Low Pass: 16 (Bilinear upsample) High Pass: 1024 |
|---|---|---|
 |  |  |
Color Alteration
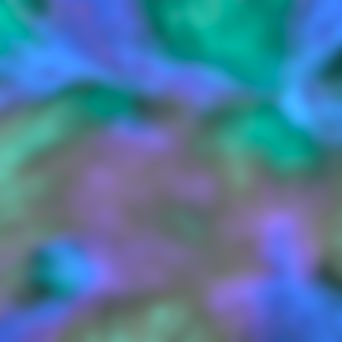
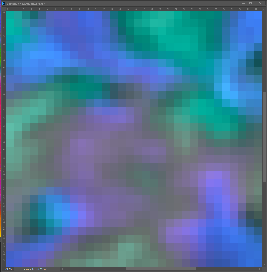
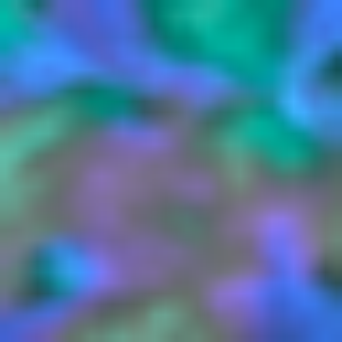
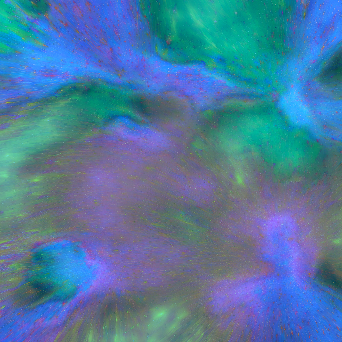
This is a pretty flexible technique, as the high pass frequency can be applied across a wide range of shifts in the low pass base colors and still arrive at decent looking results. Here are a few extreme examples:
Original Low Pass (1024 x 1024 pixels) | Downsampled (32 x 32 pixels) | Interpolated (Bilinear) | Reconstructed (Interpolated + Original High Pass) |
|---|---|---|---|
 |  |  |  |
And in this next version, you are simple going to hue shift our original low pass colors.
Original Low Pass (1024 x 1024 pixels) | Downsampled (32 x 32 pixels) | Interpolated (Bilinear) | Reconstructed (Interpolated + Original High Pass) |
|---|---|---|---|
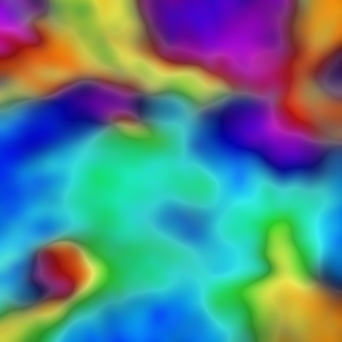 | 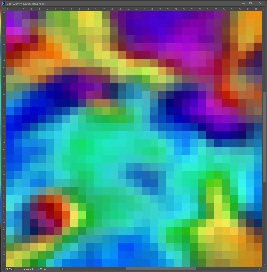 | 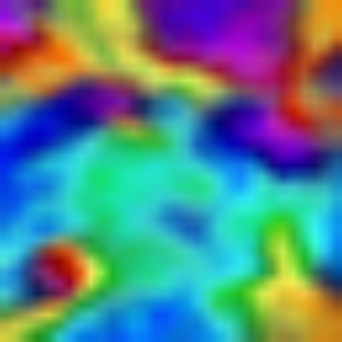 | 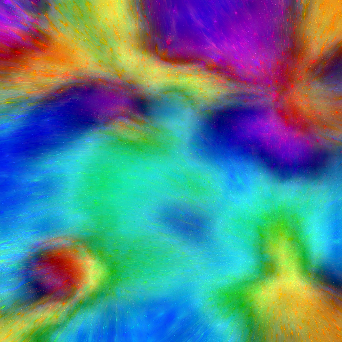 |
As you can see, you can make pretty abrupt and wild changes to the base color, and still arrive at visually interesting results!
Macro material low pass
You can use the small downsampled low pass image in texturing for our Macro material. There are a several options for this use case:
- Use the downsampled low pass image as a texture input for texturing
- Use the downsampled low pass to generate a color ramp (and a matching height map), which can be used as input in programs like World Machine to use in colorization
- Use the downsampled low pass as a color swatch for painting terrain
Then with the proper blending and syncing the repeat, you can augment this with the high pass detail texture and result in something similar to the original image up close.
High pass detail map
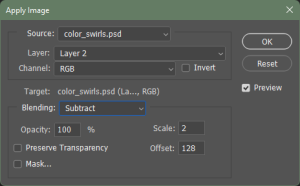
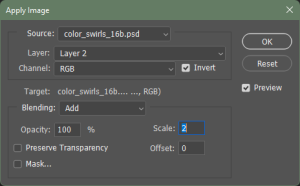
You can use Photoshop’s built-in high pass filter to generate a high pass detail map, and then apply that back to the original image to generate the matching low pass macro material texture with the following process:

