Setting Up Actor Entities
After you set up your skinned meshes as actors, you can create your actor entities. You then parent the attachments to the main entity and line the attachments up to the primary actor.
To create actor entities
From the Asset Browser, select and drag the main actor file and the attachment actor files into the viewport.
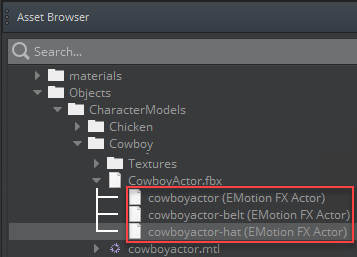
O3DE automatically adds each file as its own actor component entity.
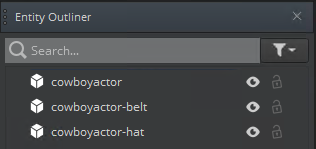
In the Entity Outliner, click and drag the attachment entities to the main entity; this parents the attachment actor entities to the main actor entity.
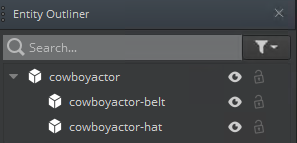 Note:The attachments entities may not line up with the main entity. You’ll fix this in the next step.
Example
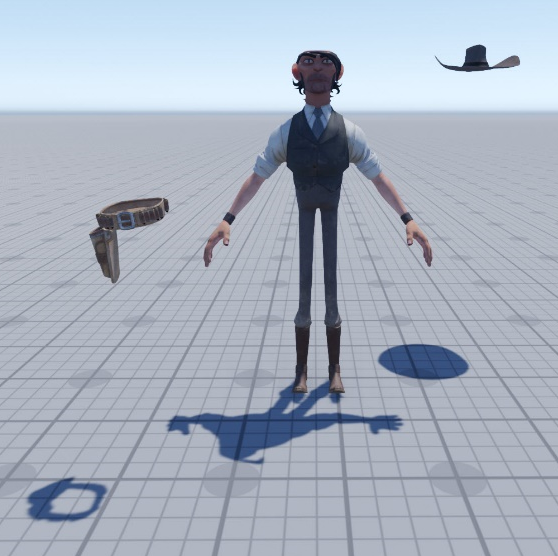
To align the children with its parent, select a child (attachment) entity and then in the Entity Inspector, specify the Translate values to
0. Repeat for any other child entities.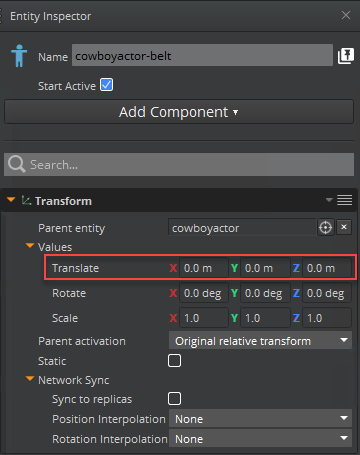
The attachments now line up with the main actor entities.
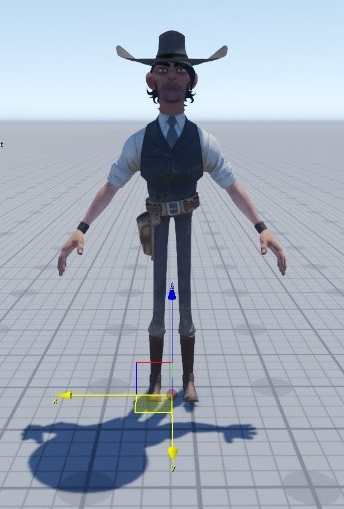
For each child entity, do the following:
In the Actor component, for Attachment type, choose Skin attachment.
For Target entity, click
and then select the primary actor to attach the skinned mesh (for example, the cowboyactor).
Your component entity setup is complete. When your primary actor animates, the additional skinned mesh attachments animate with the primary actor skeleton.
